I recently started a conversation with a dear friend like this... and of courrrrrseeee she wanted to know my secret... but I have a different secret to share with you....
(makes you want to know the secret I shared with her, doesn't it - he,he,he).
I dislike chocolate - lol!
Unlesss..... it is dark chocolate and on strawberries it's even tempting with milk chocolate!
When any reason comes in to celebrate I find myself looking at pretty flowers or a tasty treat. Recently a Doctor of mine, who has become a friend, reminded me that if I didn't have someone buying me roses, that I should buy my own - as I deserve them. For me - roses or chocolate covered strawberries... it's about admitting that I am worth it, also.
Getting Crafty January 2025 Hostess Code: UE63CJTG
Just Copy and Paste this Code in your order.
**OR... if you are ordering over $150 and you don't want to score it at the BEST DEAL OF ALL as a VIP Shopper.. Make sure YOU Score the Hostess Shopping Spree! Don't add a Hostess Code but DO make sure you are shopping with ME for the newest FREE Class!!
~ Scoring the Petal Pink at 4-1/4" and then diagonal cut will allow this to POP up.
~ Real Red card stock at4"x5-1/4", cut the same diagonal with our Stampin' Trimmer.
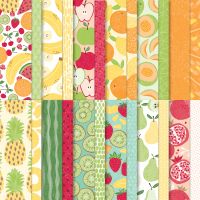
~ The FREE Fruit Stand Designer Series Paper is really such a fun twist to this card... here the polka dot piece cut to 5"x3-3/4" and cut the same diagonal.
~ Using your Bone Folder to make a firm impression
~ Multipurpose Liquid Adhesive to adhere the layers on eace side of the score line.
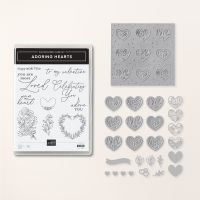
~ Die Cut with the Adoring Hearts and the red Watermelon paper from that same FREE Packet (only FREE through February with a qualified purchase).
~ Die Cut the Early Espresso card stock (6"x6")
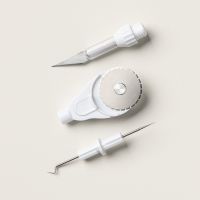
~ Using the Take Your Pick Tool and the FREE Crafter Tips for this ($21 value FOR FREE!) to create the dipped chocolate look. Adhere with Multipurpose Liquid Adhesive.
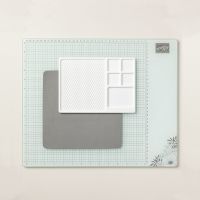
~ Using the Glass Mat Studio allows for you to create and stamp sooo much better BUT it also is a top quality tempered glass mat that you cand DIRECTLY Cut and Heat on with NO Damage! Whoop!
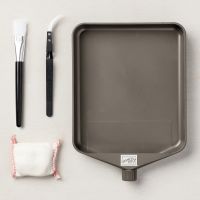
(Using the Embossing Buddy to absorb the excess adhesive from the Embossing Additions Tool Kit.)
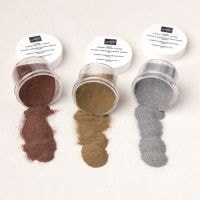
~ Rock and Roll these dipped strawberries into the Versa Mark ink pad and the Gold Embossing Powder.
~ Using the brush from Embossing Additions Tool Kit to brush off what you don't want on there - allowing the chocolate to appear.
~ Heat set with the Heat Tool for this gold leafing appearance.
~ I UPGRADED these 'berries' into a dewy look with the sparkle of the Wink of Stella glimmer brush.
~ Adhere this to the Multipurpose Liquid Adhesive and Stampin' Dimensionals for a multilayered look (see the video on the three levels I helped create).
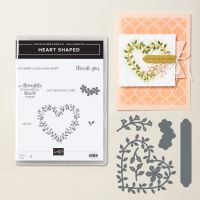
~ Stamp the INSIDE with the Real Red ink pad and the Heart Shaped FREE Stamp Set and the raise berry 'kick stand' to hold the easel card open with Stampin' Dimensionals. (I upgraded the inside with the same sized card stock and designer series paper for a fun festive look!)
Upgrade the inside or NOT??
I am so glad that I did this, but what do YOU think??
My desire to STOCK PILE my beautiful papers wars with the joy of a decorated polka dot interior.
Comment and let me know if you think it is worth it...
What do YOU think?? Please COMMENT, Share, Pin, Email, Facebook post and more.. then JOIN ME with a Follow on all of these avenues like Facebook, Pinterest, YouTube, Instagram, and more! Get even MORE Crafting News and never miss out on the next and newest wow creation when you Join our Exclusive Mailing List.
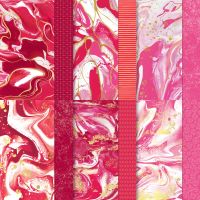
Create a little love... with this fun nod to a bit of mixed media, sparkle and shine! I love finding the hidden use of this stunning FREE Heart Shaped Bundle partnered with this lush Marbled Elegance Specialty Designer Series Paper... I love how it hides a great tip to crafting! Catch the full video tutorial below and let us know what you think.
Getting Crafty January 2025 Hostess Code: UE63CJTG
Just Copy and Paste this Code in your order.
**OR... if you are ordering over $150 and you don't want to score it at the BEST DEAL OF ALL as a VIP Shopper.. Make sure YOU Score the Hostess Shopping Spree! Don't add a Hostess Code but DO make sure you are shopping with ME for the newest FREE Class!!
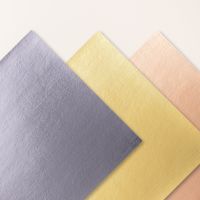
Can we discuss the STUNNING accent using the Textured Metallic Specialty Paper??
Recipe:
~ Scoring the Thick Basic White card stock at 4-1/4", turning 90* and cutting at 5-1/2". Using a Bone Folder to impress the fold for a firm impression.
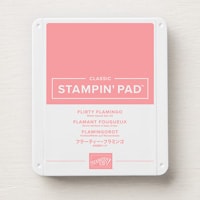
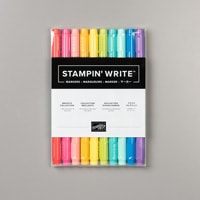
~ With the 3-1/4" Basic White card stock apply the Flirty Flamingo ink pad. With the Melon Mambo and Real Red Stampin' Write Marker flick the stamp for a variety of shades to the image.
~ Huff across the stamp and stamp the center of the paper.
~ Die-Cut the Textured Metallic die in the Stampin' Cut & Emboss Machine.
~ Stamp the greeting in the center.
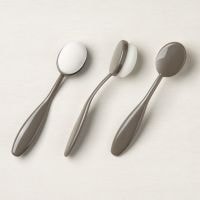
~ With the Stampin' Blending Brush and Flirty Flamingo ink pad soften the paper... using the Stampin' Glass Mat Studio makes for a clean work space and more control of the color.
~ Add the sprinkles of sparkle with our Wink of Stella Glimmer brush (Again, the Stampin' Glass Mat Studio is AMAZING at improving your stamping and protecting your crafting surface!)
~ Die-Cut the Designer Series Paper CENTER to hide the die cut in fun color mixes that YOU pick and the leaves in the Textured Metallic gold paper, applying the two with the Multipurpose Liquid Adhesive.
Pick your Petal look and Shine BRIGHT with this beautiful paper!
What do YOU think?? Please COMMENT, Share, Pin, Email, Facebook post and more.. then JOIN ME with a Follow on all of these avenues like Facebook, Pinterest, YouTube, Instagram, and more! Get even MORE Crafting News and never miss out on the next and newest wow creation when you Join our Exclusive Mailing List.
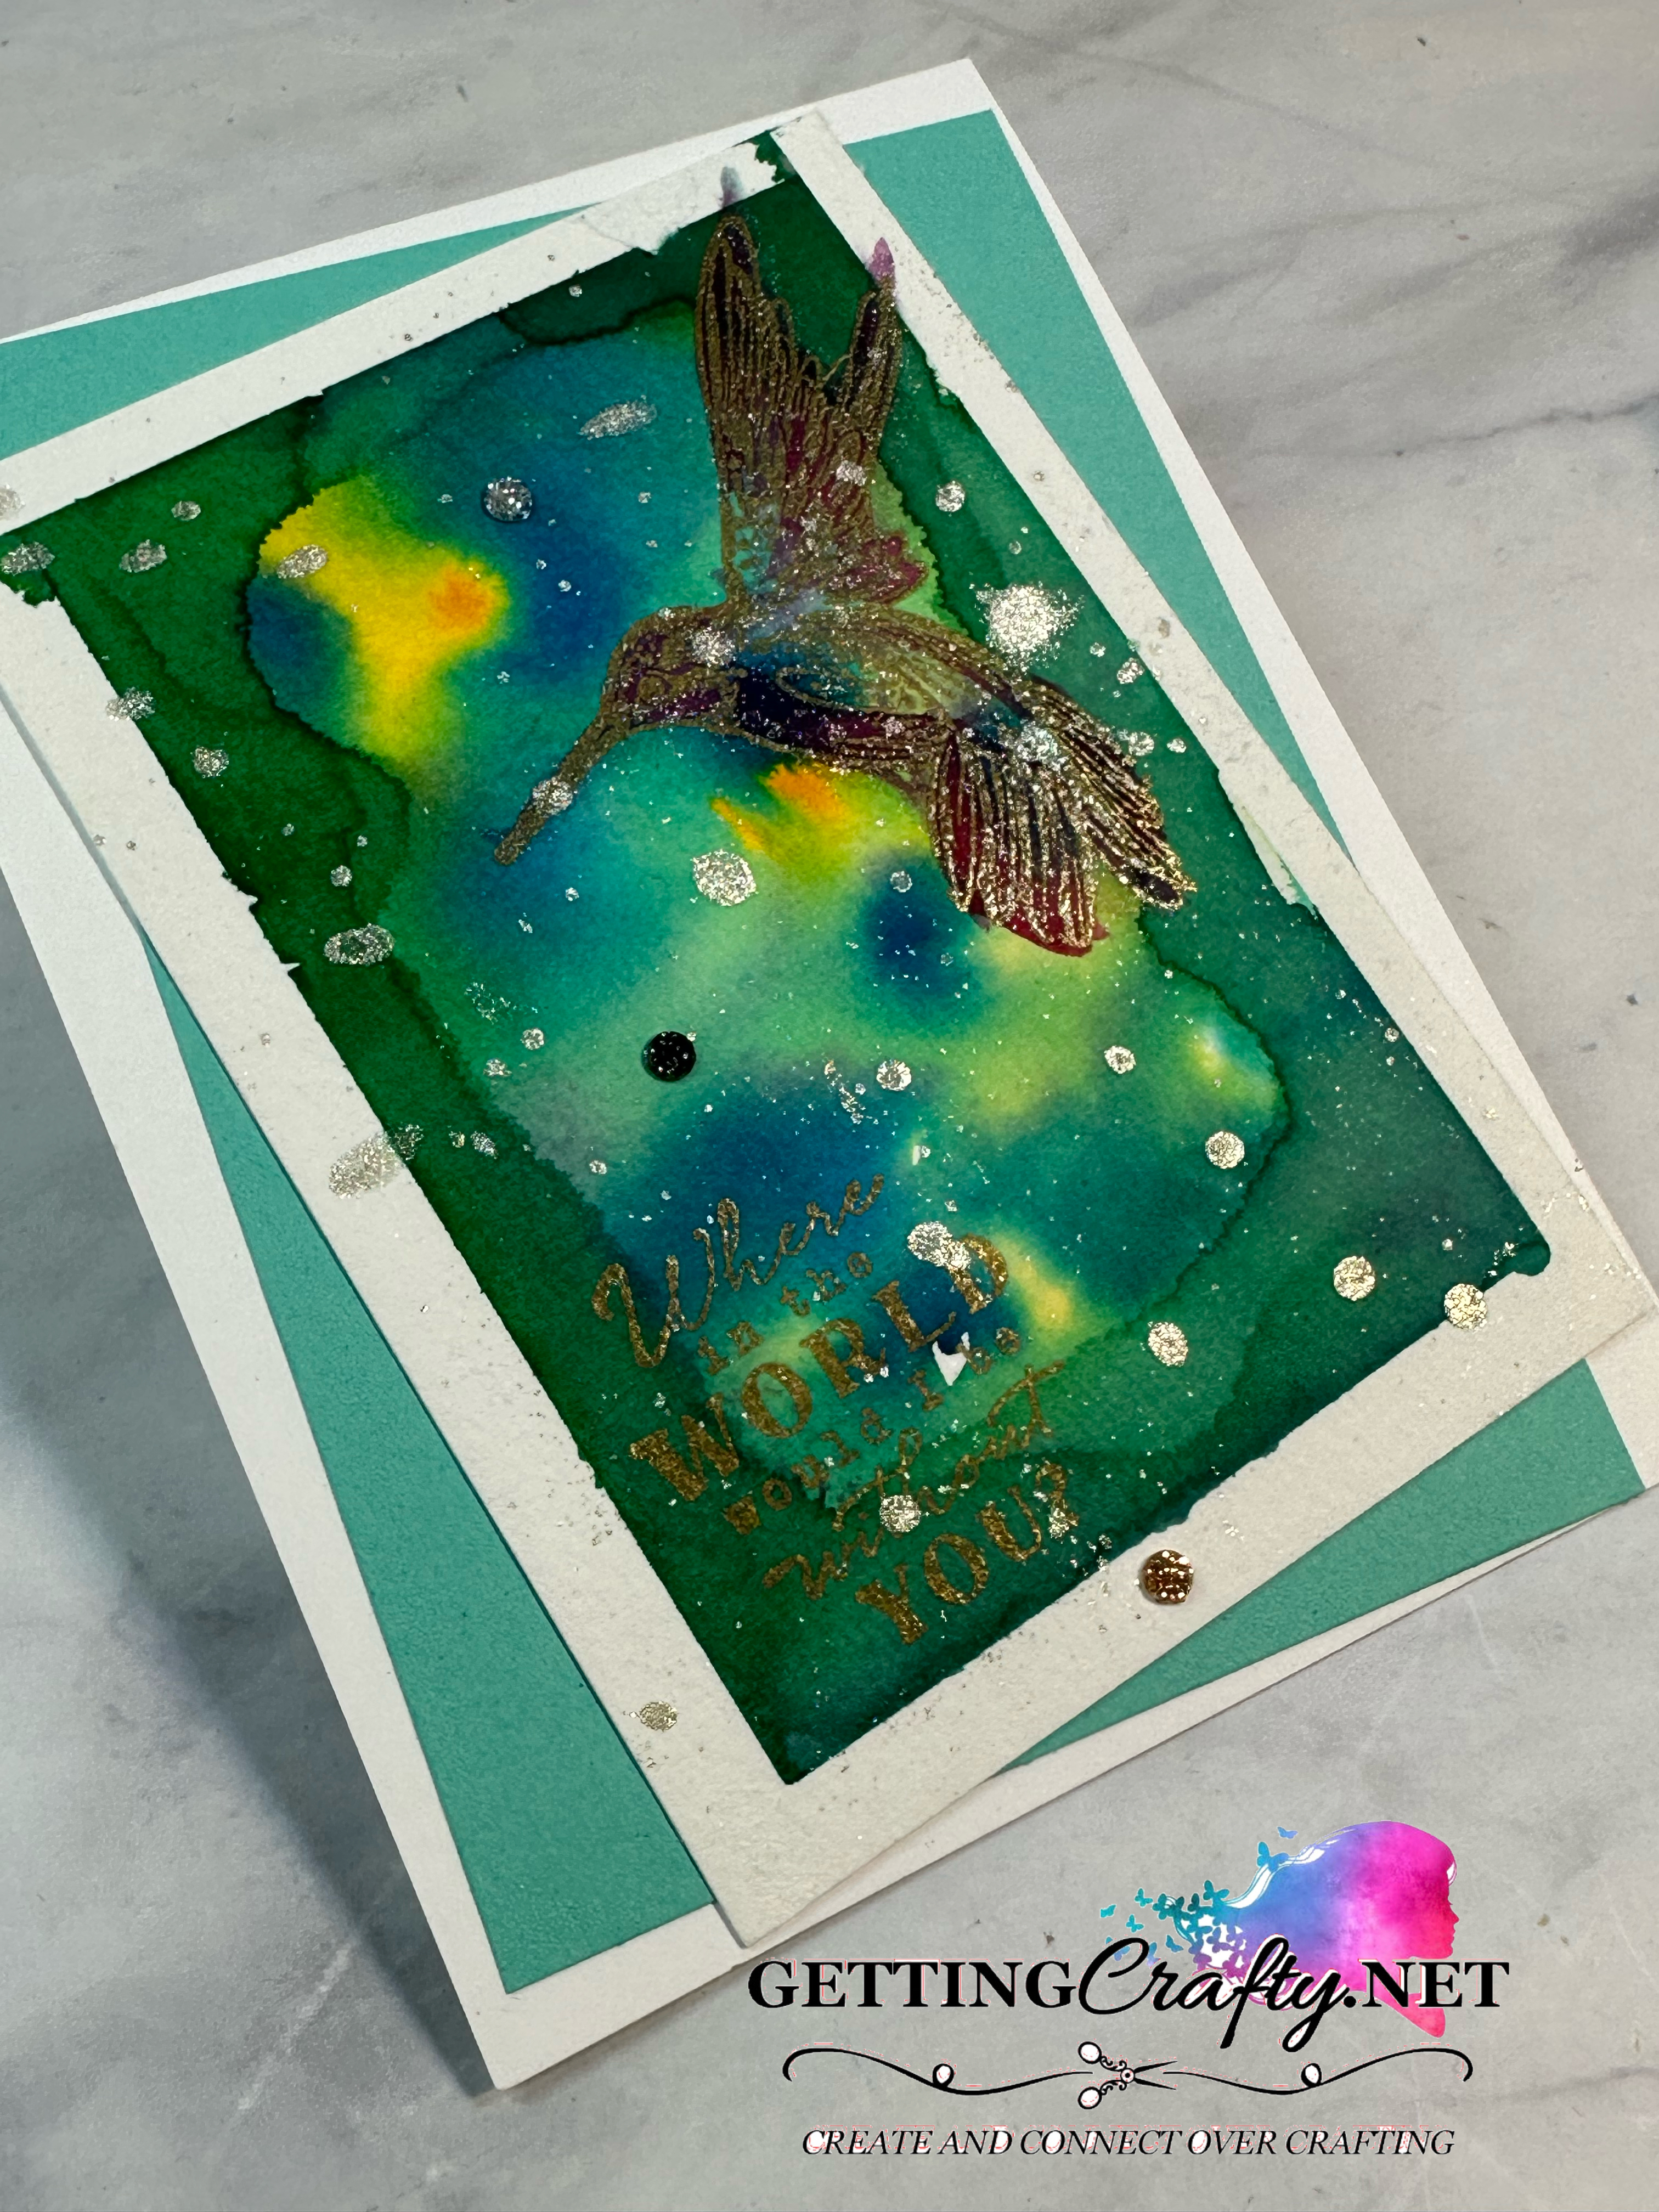
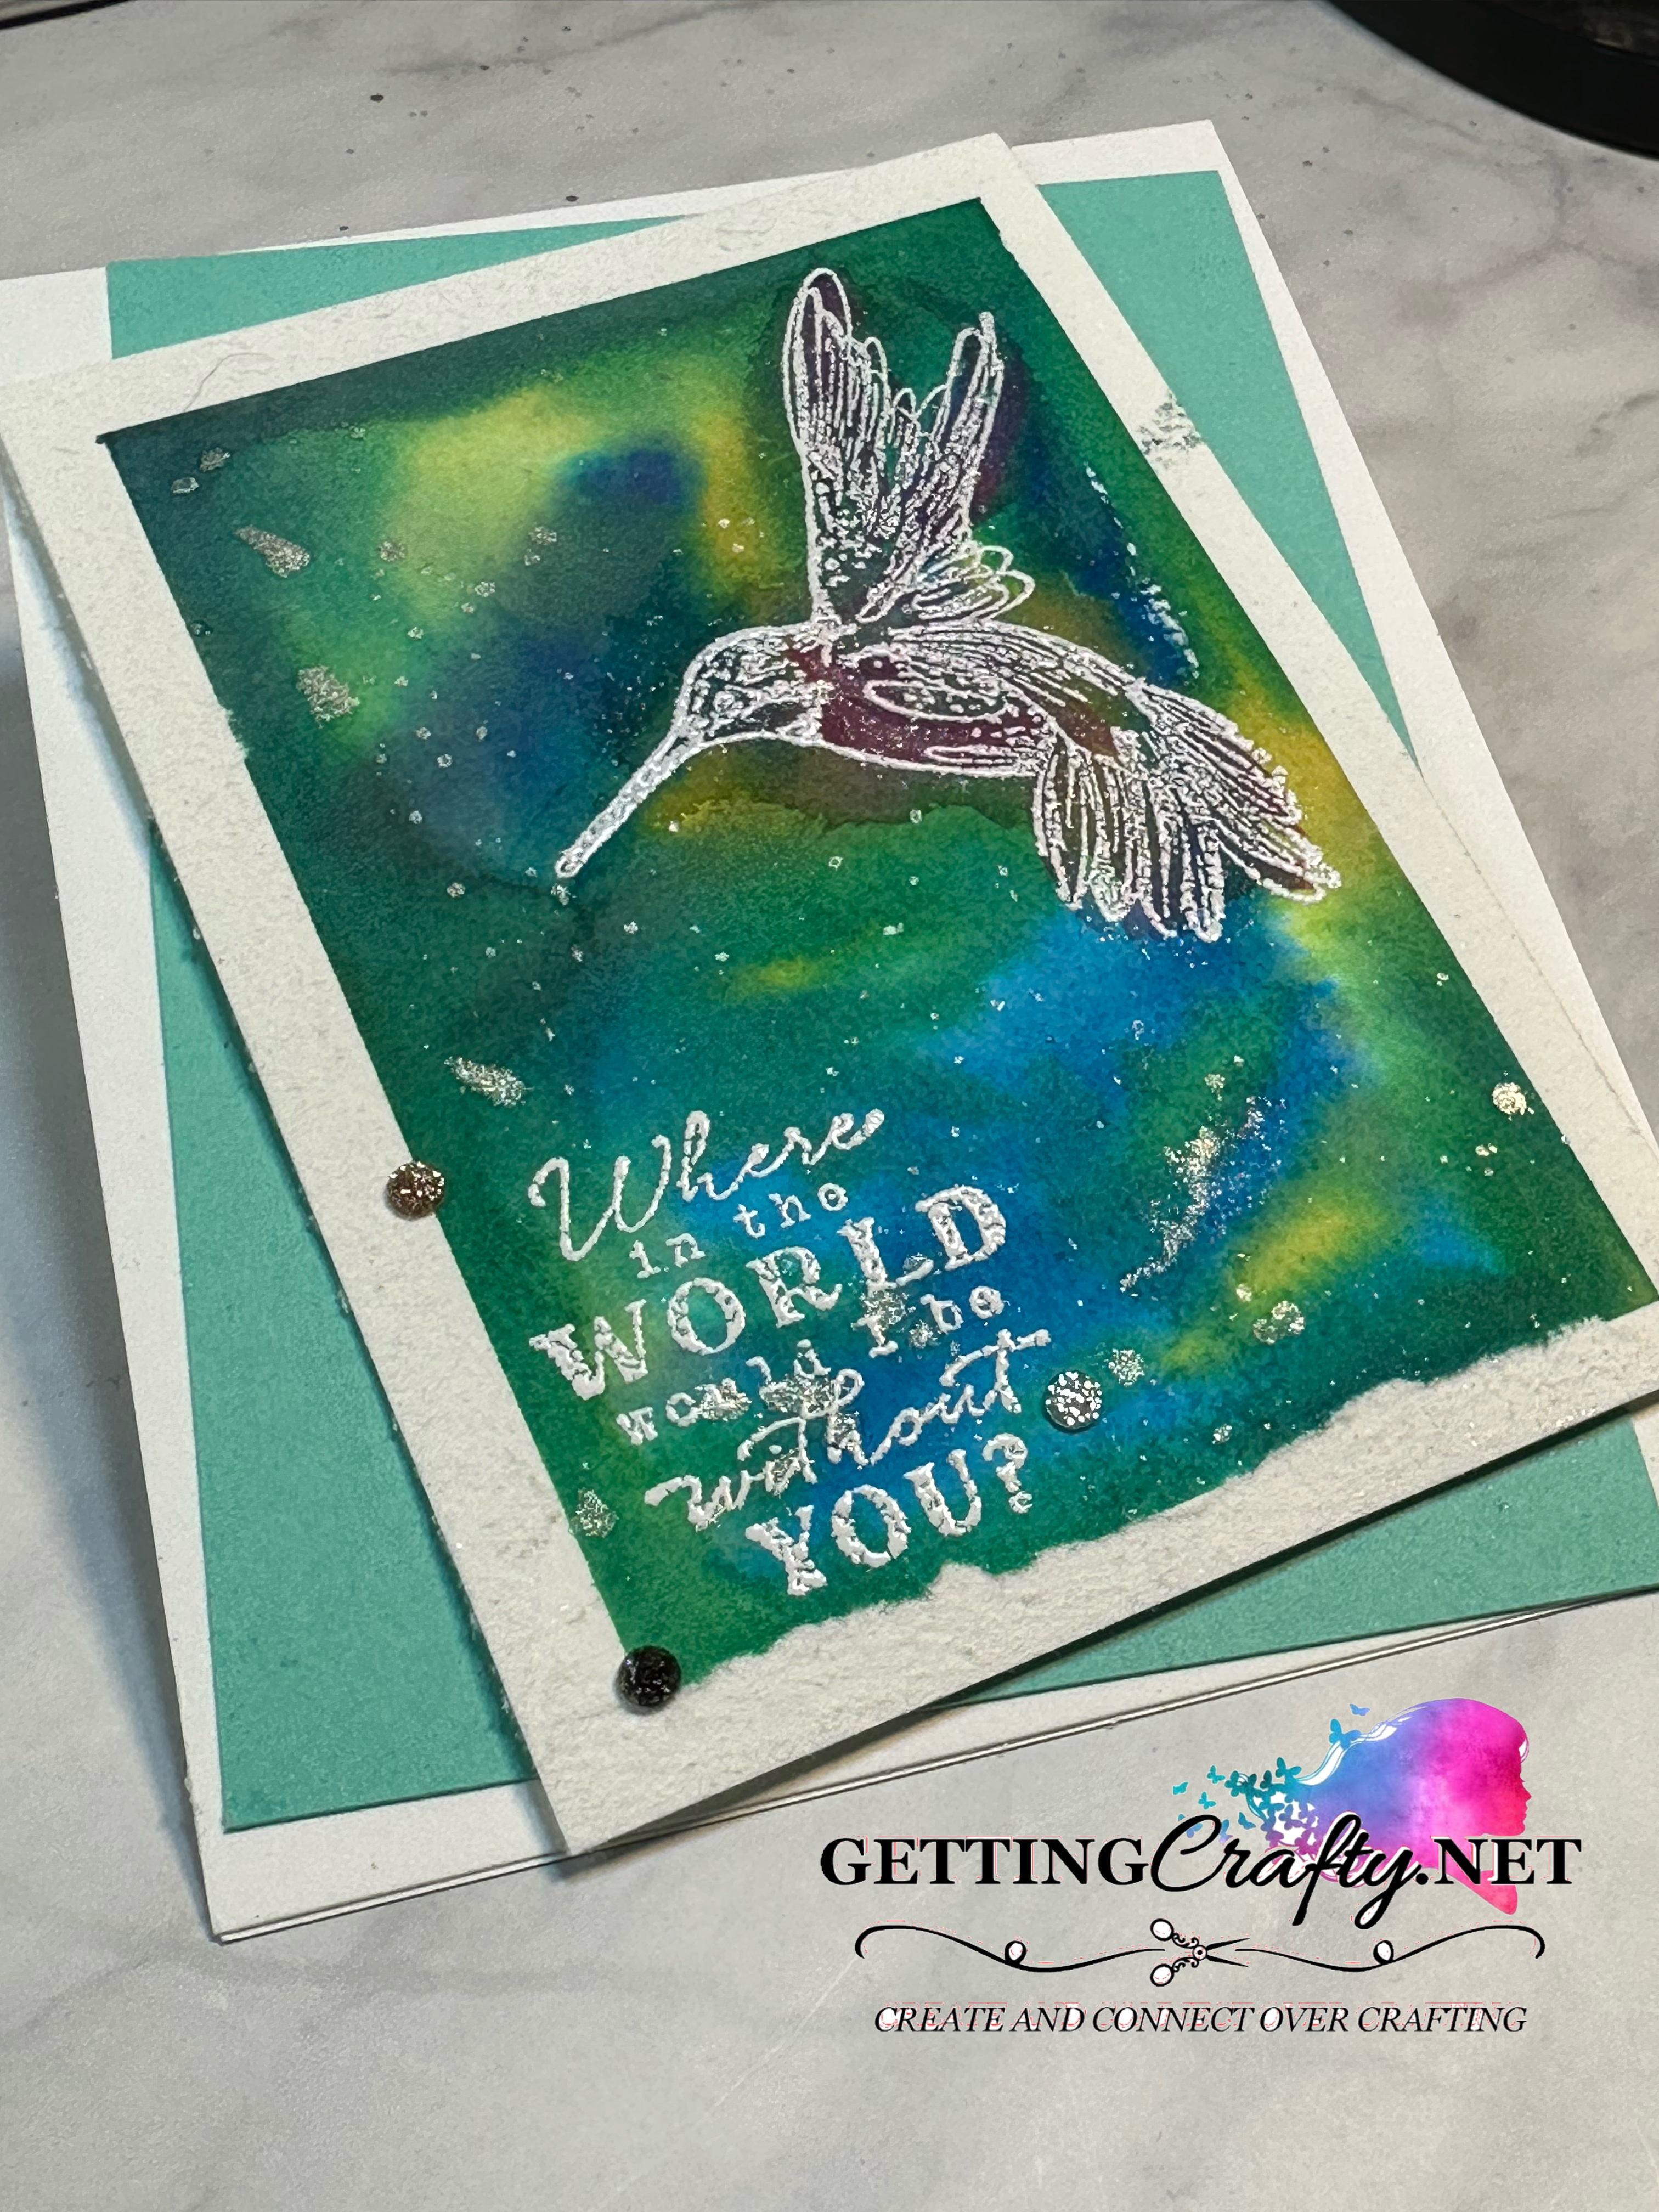
I just ADORE Color! Give me a deep dive into all that brightens the world... and this watercolor handmade card comes together with the new Thoughtful Expressions bundle, heat embossing and thankfully for the new Stampin' Glass Mat Studio (FREE*!!). I love the ethereal look of this project that is sure to WOW. See the full video tutorial on how to make it come to life and how to use the Glass Mat Studio to take it to the next level.
With so many options in our coloring and heat embossing... enjoy how you can create and modify in water coloring.
Recipe:
~ With half of our Fluid 100 watercolor paper, using the Glass Mat to create a frame with Washi Tape.
~ Using the Brights Collection Ink Refills (here I used Daffodil Delight, Bermuda Bay and Pacific Point inks) and my Water Painters.
~ Using the Heat Tool to set the inks.
~ With the Embossing Buddy in the Embossing Additions Kit prep the surface.
~ With Versa Mark ink pad and the Thoughtful Expression bundle, stamp the Hummingbird and greeting.
~ Liberally pour the embossing powder of your choice (here I embraced the gold and white), pour off and heat set DIRECTLY on the Glass Mat (I adore how it protects my surface!).
Spice It UP:
~ Adding MORE watercolored accents with the Water Painters, Ink Refills and Silicone Mat I accented with the Melon Mambo and ink refills for this fun ethereal look.
~ SPLATTER! This would have damaged my surface but with our Glass Mat Studio - it won't! Using the Wink of Stella to add color to the hummingbird and splatter to the image.
~ Accent with the Sparkle Gems using my Take Your Pick Tool.
What do you think?? Please Share Me and This with a Pin, Email, Facebook post, Tweet.. and Join Me with a follow on these avenues like Pinterest and YouTube, Instagram, LinkedIn and Foursquare! Get even MORE Getting Crafty and Stamping with our Exclusive Mailing List and it's many rewards!!
and During Sale A Bration (until the end of February!)
PICK the BONUS of YOUR Choice:
~ Free Stampin' Glass Mat Studio
(Glass Mat - $60 value, Silicome Mat and Cleaning Cloth!)
or...
~ Add a BONUS $30 in Crafting Supplies of YOUR Choice!!
No Obligation to sell... simply score the Discount, Free Hostess Dollars Shopping and During Sale A Bration FREE Items!!
I am HERE to help YOU acheive your goals...
With the friendship and support in our Getting Crafty Family group and my experience in leadership as the Top 1% of Stampin' Up! globally... You can earn Free Product or Profit and more with Stampin' Up!
Questions?? Let me know and I look forward to connecting!
What Others are SAYING about Getting Crafty with Jamie
Jamie is so passionate and creative about making cards - and wants everyone else to join her in the fun! She is so encouraging and positive in her attitude, helping me along when I get frustrated - and then rejoicing with me at the finished product! I love going to her classes to get new ideas, learn techniques, and have loads of fun in the process. ~ Christine C.
Jamie has wicked awesome classes! If you don’t like a particular stamp or paper/ink color Jamie wants you to change it to suit your style! I did my sister-in-law’s entire bridal shower from invitations/thank you cards, party favors to decorations, it was quaint and whimsical! Everyone ooh’d and ahh’d! I’ve had lots of special requests for classes and Jamie delivers; she always has tasty treats and flavored coffees too ~Ashley W.
I have been attending Jamie's classes for over a year. Her ideas for cards are fresh and fun. She always tries to have several different styles of cards available, so everyone gets to make cards that fit their personal style. The techniques she shows each class can be used in many different applications. She is very patient teacher when instructing class members on how to use the Stampin Up products. ~ Carol D.
If I looked up the word sparkle in the dictionary, I would find Jamie Albanese picture there. I have had the sweet blessing of knowing Jamie and her family for over 5 years now. Every time I am with her I feel loved and inspired. When I am in one of her classes I feel my creative juices flow, as she encourages me to go outside my comfort zone. Jamie helped our girl scout troop make cards for a soldier who needed some encouragement!!! For any of you who have not been in one of Jamie's classes, please don't let another day slip by. She is a beautiful friend and she will become yours too. ~ Blessings, Karen:-)
Jamie has a great eye for style and flair, and it shows in her work. Yet she can pick up on your own individual style and makes great recommendations. I love that she is always flexible for last-minute decision maker mommies like me! So much fun to host craft events with your friends and family - that personal touch always means so much. ~ Adonna