
I have to say... If this clothing collection were available from a more reputable place, I would sooo purchase it! It inspired me to create a beautiful handmade card that has this blush to deep purple ombre look. Created for today's #FashionFriday inspiration has been such fun to create!! A handmade card in less than 15 minutes.. with a video tutorial on the trick with this technique is below. What would YOU like me to create? Comment and let me know.

Product List
")
 Paper Pack")


")


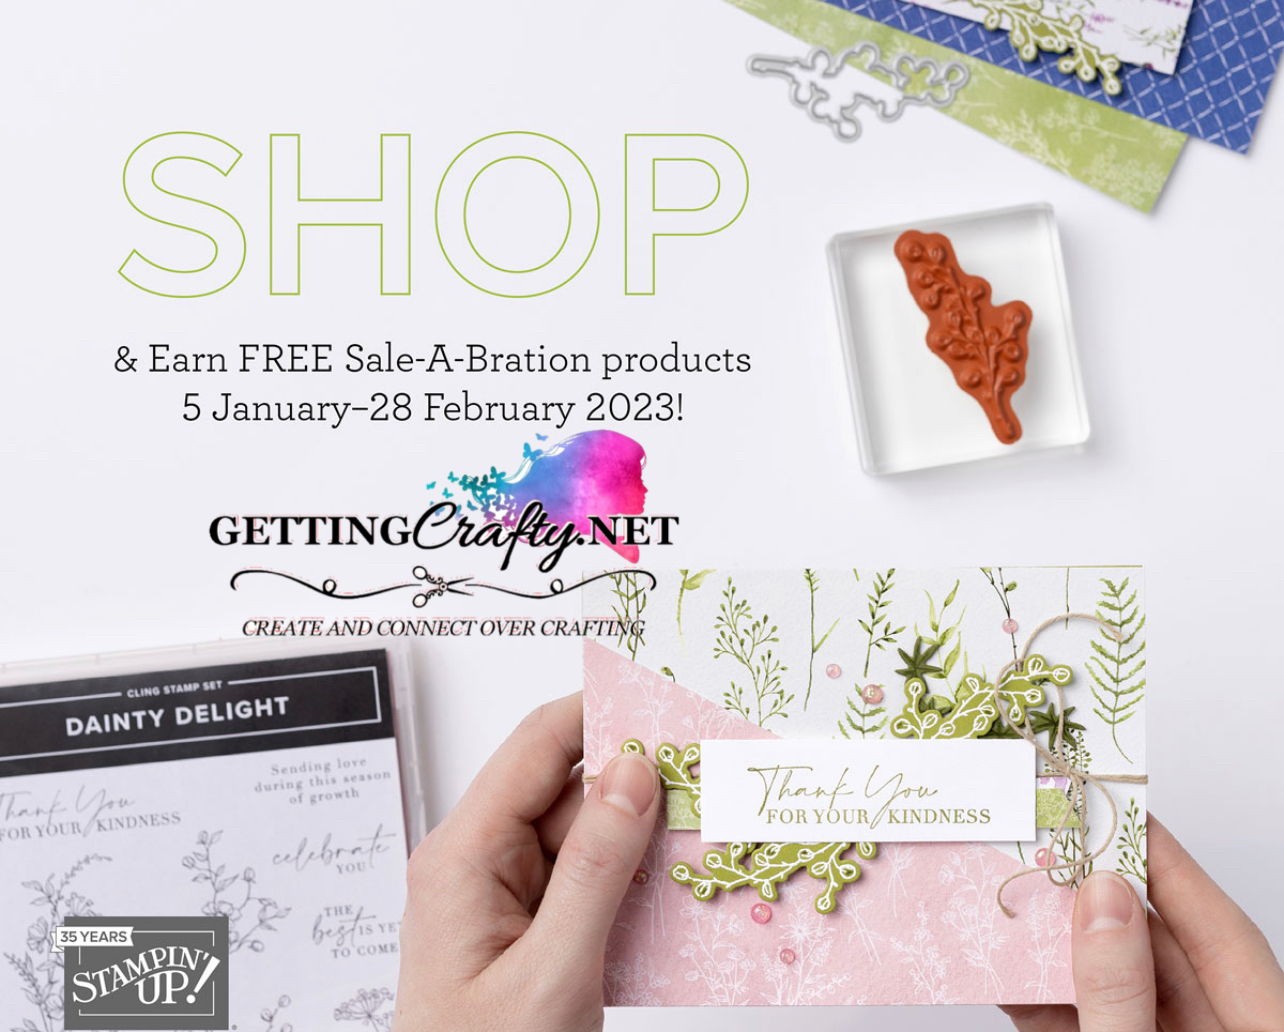
| Shop the NEW Catalog and Score BIG TIME! |
Sale~A~Bration is HERE ~ For a LIMITED Time and with LIMITED Quantities! With every $50 you can pick a FREE Stamp set or Paper Collection and MORE!
See the NEW and AWESOME Catalog, Shop this and the newly Updated Clearance Rack!
SHOP and SCORE Happy Mail and a Gift!!
THANK YOU for your support, it is PRICELESS to me and my family!
Getting Crafty January 2023
*Hostess Code 6RBWX39Z
- JUST COPY & PASTE THIS CODE
**OR... If you Order $150 or more - Score the Hostess Shopping Spree !!
Simply COPY and Paste it when you are checking out.
****
Create this Ombré StampinUp Sparkle & Shimmer handmade card making tutorial.
I hope that you enjoyed this Video.
Don't forget to Sign Up and Follow my Getting Crafty YouTube Channel


My hand crafted card leans more warm but I love how EASY and Dynamic this handmade card came out.

Creating an Ombre look is easier than you'd think!
Doing so though can take a few tricks - especially on a non-porous surface like our new Fine Shimmer Specialty Paper!

~ Start with the Lightest Color - here that is the Blushing Bride ink.
~ Daub the Blending Brush into the corner of the ink pad and, with a base behind the project - here I used extra chipboard - and blend in for a smoother transition than starting directly on the Fine Shimmer in Gold (3-3/4"x5").
~ HOW TO SET This Color... so the Shimmer is a non-porous surface and the color can easily transfer off. Soooo.. SET THE COLOR! Using our Heat Tool to dry the surface once you are finished applying all three colors. Careful not to scorch the paper but it should bow slightly during setting (this is the glue curing).
~ Frame out this with Blackberry Bliss 4"x5-1/4" and the Blushing Bride card (score at 5-1/2", cutting at 4-1/4", using the Bone Folder to make a firm impression).
~ Stamping a 1" strip with Stazon Jet Black Ink (a solvent ink that will stand on the surface of the Gold Fine Shimmer) with the Something Fancy stamp set (I really adore the Everyday Magic greeting for this hand stamped card.
~ Stampin' Dimensionals in between each layer.
~ Accent with the Elegant Faceted Gems (the surface can be challenging to the embellishments with it's texture so I added a small dot of Multipurpose Liquid Adhesive to aide in this) with my Take Your Pick Tool.

I am so grateful for the everyday magic of you!
I do hope you enjoyed this fun Fashion Friday inspired card making tutorial.

I joined Stampin Up! and could NOT believe that the company offered FREE Products (during SaleABration) with my order PLUS the DISCOUNT and Hostess Dollars Shopping Sprees!!
SCORE this STUNNING Boho Blue Limited Edition Mini Cut & Emboss Machine FOR FREE!!
Starting Jan 5-Feb 28th when you grab the Starter Kit (which is ON SALE) you can Pick ANY $175 in Crafting Product for ONLY $125 AND this adorable Boho Blue Cut & Emboss Machine! Join the Getting Crafty Family when you do for more crafting with ME weekly, training, meetings, events, the LUSH discount, Crafting Challenges, Artisans, Free Product and MORE! Don't Miss Out!

What do you think?? Please Share Me and This with a Pin, Email, Facebook post, Tweet.. and Join Me with a follow on these avenues like Pinterest and YouTube, Instagram, LinkedIn and Foursquare! Get even MORE Getting Crafty and Stamping with our Exclusive Mailing List and it's many rewards!!

No comments:
Post a Comment